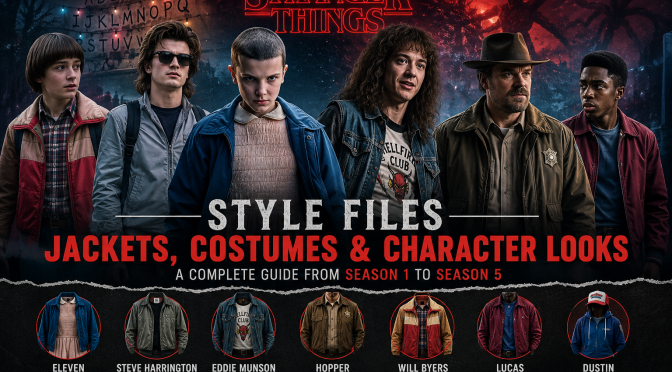
Introduction: Fashion Trends in Stranger Things.

Since its release, Stranger Things has seen its growth into a popular science fiction drama series, which is because of its exciting plot and mysterious atmosphere but also its unforgettable fashion style. The series was brought in by way of the trend of ‘80s fashion with vintage layering, classic outerwear, and character-specific outfits. Fans from around the globe go out to find the perfect Stranger Things costume to replicate the look of the favorite Hawkins characters’ especially that of the classic jackets that run through each season.
Jackets in Stranger Things have been a key element in which characters present their personalities. From Eleven in her large-scale pieces to Steve in his cool casual wear and Eddie in his rebel rock style, each jacket is a story. The fashion journey from Season 1 to Season 5 saw how the costumes grew to be an integral part of the characters’ identities.
In this full-scale guide, we look at the classic Stranger Things jackets, character looks, and trends from each season also, and we present how these vintage-inspired styles still do today’s fashion.
Stranger Things Jackets: Hawkins’ Fashion Journey.
In the world of Stranger Things we see a very 1980s American take in terms of style. Creators put a great deal into each character’s wardrobe, which in turn represents that character’s personality, background, and emotional arc. Jackets in particular stand out as a major element of fashion in the show, which in turn gave each character a unique touch.
In the early seasons, clothing was of simple teenage style, casual jackets, and everyday wear. As the story took a darker turn, characters began to don strong fashion statements, leather outerwear, vintage coats, and statement jackets.
These days it is very much a trend that we see in fans’ choices for the Stranger Things-inspired fashion, which also includes that of collectors and people into retro styles. Important to Stranger Things in fashion are the following:
- Vintage 80s-inspired designs
- Leather and denim outerwear
- Retro color combinations
- Character-based styling
- Casual everyday fashion appeal
Season 1: The start of Stranger Things character fashion.
Season 1 brought out the story of Hawkins and its young characters. That which pertained to fashion was innocence, friendship, and classic 80s child themes. The clothing, the jackets, and the full ensembles were basic yet very much so on point because they put forth the identity of each character.
In the first season we saw more of practical clothing than fashion. Characters had comfortable layers that were right for their adventures, bike rides, and mysterious investigations.
Eleven’s Mysterious And Unique Jacket Style
Eleven became a character that many could recognize for her atypical personality and emotional journey. Also, her fashion sense was different, which presented that she was a first-time participant in the outside world.
Her style was large-scale clothing, simple jackets, and vintage-inspired layers. These pieces gave off a unique look that presented her innocence and strength.
Eleven’s fashion, which became a hit for its blend of simplicity and strong character identity. Many of her fans replicate her look, which features large-scale outerwear and vintage casual pieces.
Mike Wheeler’s Classic 80s Teen Style
Mike Wheeler wore the trends of the 1980s. He dressed in practical, comfortable clothes that also reflected his adventurous nature.
His jacket style was in the casual teen fashion with very simple layering. As opposed to more dramatic character designs, Mike’s clothes were that of an average boy from Hawkins.
His style, which has stood the test of time, does so because it is easy to replicate with today’s casual wear.
Will Byers’ Nostalgic Childhood Fashion
In season 1 Will Byers’ style was that of a classic 1980s childhood look. He dressed simply and emotionally, which matched his quiet personality and role in the story.
His classic-themed clothes brought in a very nostalgic feel to the series and became a large element of the show’s visual identity.
Season 2: Darker Tones and Heavier Jacket Cuts.
Season 2 saw a shift to a grimmer tone, and also our characters grew more mature in their fashion. Jackets in particular became symbols of personality and confidence.
Characters were put into new challenges, which in turn saw them develop their looks.
Hopper’s Rugged Outdoor Jacket Appearance
Jim Hopper was known for his down-to-earth and rugged fashion sense. His style of choice portrayed that of a protector and also that of a man with a strong personality.
His jackets are of the classic American workwear style, which in turn gives his look timelessness and masculinity.
Hopper’s is a hit with fans of classic and weather-worn outerwear.
Steve Harrington’s Iconic Fashion Evolution
Steve Harrington won over fans with his confidence and style, which was very recognizable. He wore what was classic 80’s teen fashion with a modern twist.
His style of jackets, casual shirts, and layering, which many fans still replicate.
Steve has that, which you may see in a few pieces of clothing, but still the character comes through.
Season 3: Colorful Trends for Summer.
Season 3 saw a change in fashion. We went into a summer setting, which brought out brighter colors, lighter jackets, and more playful attire.
As characters developed more depth, the fashion did.
Popular Season 3 fashion elements included the following: In Season 3 we saw a lot of the following.
- Lightweight jackets
- Colorful retro outfits
- Casual summer layers
- Vintage accessories
Billy Hargrove’s Rebel Jacket Style
Billy Hargrove was the poster child for 1980s rebellion. His personality came out in bold fashion choices and great outerwear.
His wardrobe was a mix of casual shirts, sunglasses, and structured jackets. This style of his, which is bold and fearless, won over many fans.
Robin Buckley’s Individual Retro Fashion
Robin Buckley brought in a new wave of fashion with her distinctive personality and creative outfits. Her style stood out from the rest as it emphasized individuality.
Her bold fashion choices presented confidence and personality at the same time, which also played into the overall 80s theme of the series.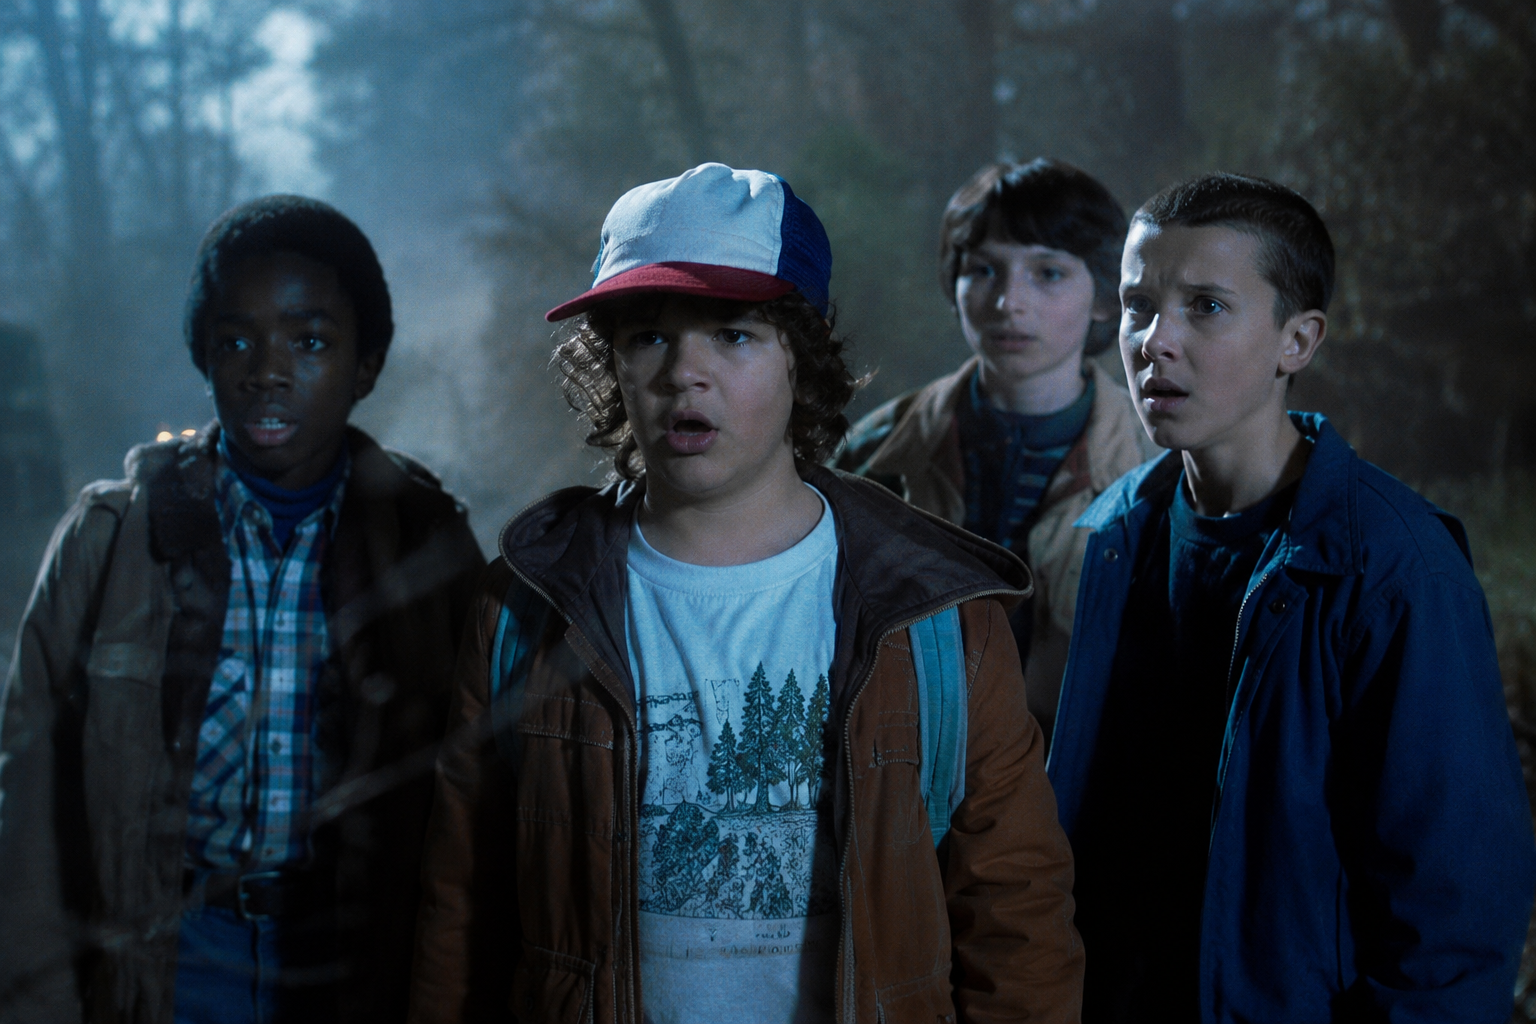
Season 4: Leather jackets and rock-influenced fashion.
Season 4 saw the introduction of our favorite fashion moments in Stranger Things. The characters grew up a bit, and their styles became more mature and expressive.
Leather jackets, vintage pieces, and rock-influenced ensembles were at the fore.
Eddie Munson’s Legendary Rock Style
Eddie Munson soon was a fashion icon for his rebellious attitude and metal-inspired personality. He wore it, which represented freedom, creativity, and individuality.
His jacket choice became a signature look of the series. Fans connected with his unique appearance, as it came off as very real and different.
Eddie’s fashion sense still influences many of us in the rock and vintage-wear scene.
Steve Harrington’s Mature Adventure Look
Steve in Season 4 carried out his run as a style icon. He went more towards practical wear but still kept his classic look.
His and his layered looks fit his adventurous personality out, and he lived out that protective role.
Season 5: The last of Stranger Things fashion.
Season 5 is the end of the Stranger Things run. Fans expect to see the characters in their usual vintage-inspired outfits, which also will include some new elements.
The last season will see the return of classic Hawkins elements, which include the signature jackets, casual layering, and a focus on the characters.
In the future of Stranger Things fashion, we see the following:.
- Classic retro outerwear
- Character-inspired jackets
- 80s streetwear influence
- Vintage casual styling
Why did Stranger Things jackets become a global trend?
Stranger Things has seen a rise in its jacket sales due to the way fashion and story are integrated. Each character’s wear is a statement of their personality, which in turn makes the clothes more than just accessories.
Nostalgia, great characters, and classic design were what made these jackets popular beyond the fan base.
Main causes of that are:.
- Connection with famous characters
- Strong 1980s fashion influence
- Easy everyday styling
- Popular cosplay appeal
How to wear your Stranger Things-inspired jackets today.
The best element of Stranger Things-inspired fashion is that you may wear these looks today. Fans are able to mix in vintage pieces like jackets with their everyday wear to achieve a classic yet modern look.
Leather jackets for a bold look and, at the same time, denim jackets for a casual look. Also a great aspect of 80s fashion was the mixing of various textures and colors.
A few styling ideas include: A couple of styling options include the following:.
- Pairing jackets with jeans
- Adding sneakers for casual outfits
- Using vintage shirts underneath
- Creating layered winter looks

Final Thoughts: Bring in the Hawkins look to your wardrobe.
The evolution of fashion in Stranger Things from Season 1 to Season 5 is a study in which character attire becomes a form of lasting trend. We see new styles introduced each season, from what is at base very basic children’s wear to a much edgier, leather- and rock-influenced look. These jackets are symbols of memory, personality, and iconic moments from the series.
For those that wish to replicate the classic Hawkins look, a character-inspired outerwear piece is a great way to put a vintage spin on your wardrobe. The Will Byers jacket weaves in the 80s adventure style and is still a great choice for fans that are into the classic fashion of Stranger Things.
(FAQs) Asked Questions
1. What kind of jackets do we see in Stranger Things?
In Stranger Things you see a range of jacket types from leather to denim, bomber jackets, very large outerwear pieces, and also very old-school-styled coats.
2. Which character in Stranger Things has the greatest following for their jacket style?
Characters in the mix of Eddie Munson, Steve Harrington, Hopper, and Eleven are known for their style, which is very much a brand of the characters.
3. How do you put together a Stranger Things-inspired outfit?
You may put together that look with vintage jackets, denim jeans, retro shirts, sneakers, and layered 1980s-inspired pieces.
4. What is it about the fashion in Stranger Things that has caught on?
Outfits are popular that feature classic fashion, iconic characters, and distinctive styling that resonates with fans all over the world.
5. Can you wear Stranger Things jackets for casual outings?
Sure, in today’s fashion scene there is a great success of the Stranger Things-inspired jackets, which do very well in a daily wear context as they play into what is current in casual and streetwear styles.